Before you start programming, you’ll need to install some tools in order to build and upload your code. Get a command-line of your choice ready, since we’ll be running some terminal commands.
Installing Rust
In order to use vexide, you’ll need a Rust toolchain (cargo, rustc, etc…) installed on your computer. To install Rust on your system, follow the instructions here. If you use a Windows computer, the installer may also prompt you to install Visual Studio Build Tools.
Tooling
vexide uses on some unstable features that are currently only available in Rust’s nightly release channel, so you’ll need to switch to that:
rustup default nightlyWe also need some additional tools to help us properly build/upload to VEX brains. You can install those components with the following terminal commands:
rustup component add rust-srccargo install cargo-v5Setting up a Project
To make a new vexide project, we’ll use the cargo v5 new <NAME> command. This will create a project in the current directory containing a bare-bones template that we can start out with.
cargo v5 new my-projectAfter running this, you should have a new folder named my-project (or whatever you named your project). Open that folder in a code editor of your choice. If you don’t have a code editor, we recommend starting with Visual Studio Code.
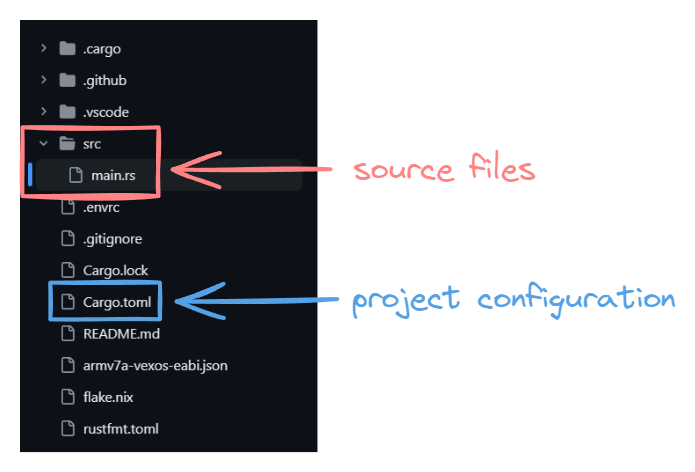
If you’ve worked in a rust project before, this project structure should be somewhat familiar to you. If not, that’s okay too! There are two files of relevance we’ll worry about right now:
- The contents of
srccontain your project’s actual source code. All of the program you will write will be in this folder. In this casemain.rsis your program’s main source file. Cargo.tomlcontains your project’s package information, including its dependencies.
